Design Process- Model Making
|
In the previous semester, model making was using as an initial exploratory tool to understand the physicality of the project- a space that was theoretically neither considered inside nor inside through the implementation of biophilic patterns of design.
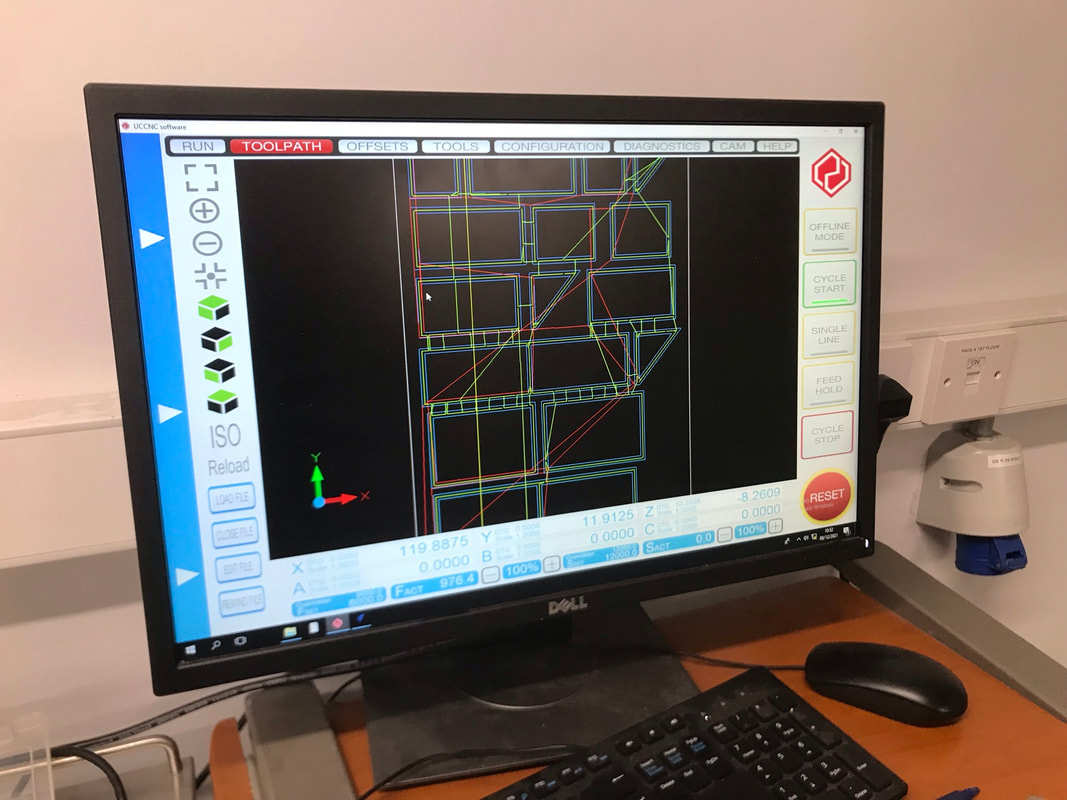
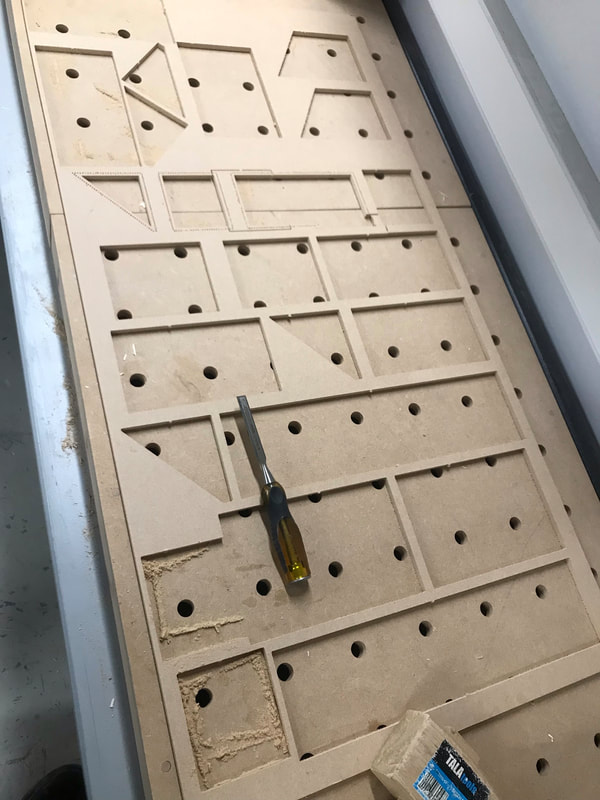
This method was used again to better understand the constructive nature of the 'thread-and-frame' system as well as the implications it would have in physical space. Using physical modelling would also allow the project to be more widely seen and understood than solely line drawings. The 1:25 model generated using digital fabrication in the previous semester was used as context to trial different ideas on how the frames this semester could work within Liberty Hall (ex. right). The design process through model making progressed through several stages. |
|
Phase 1- Testing with Rough Materials
To further develop the thesis project concept, model making was used using rudimentary materials before the final semester began. This was to understand what threading patterns could be done to create habitats/ walls for Liberty Hall's residents.
Phase 2- First Test Model
The first model of the semester was used to examine how the thread-and-frame system could work for the pipistrelle bats identified in the ecology research. However, this model diverged from the original intent to use threading itself as the tool to control light, heat etc. while this model (above) used threading atop a solid surface. This also would have potentially limited not only the bats ability to interact with Liberty Hall but also would cut Liberty Hall off from the outside environment. This is the exact opposite of the intent of the project to open Liberty Hall up to its context again.
Therefore, this type of model progressed no further. However, this did help me realize the core values of the project and how the frame for the facade panel was there to facilitate different threading patterns, not cover up Liberty Hall. From this point forward, the frames remained open.
Therefore, this type of model progressed no further. However, this did help me realize the core values of the project and how the frame for the facade panel was there to facilitate different threading patterns, not cover up Liberty Hall. From this point forward, the frames remained open.
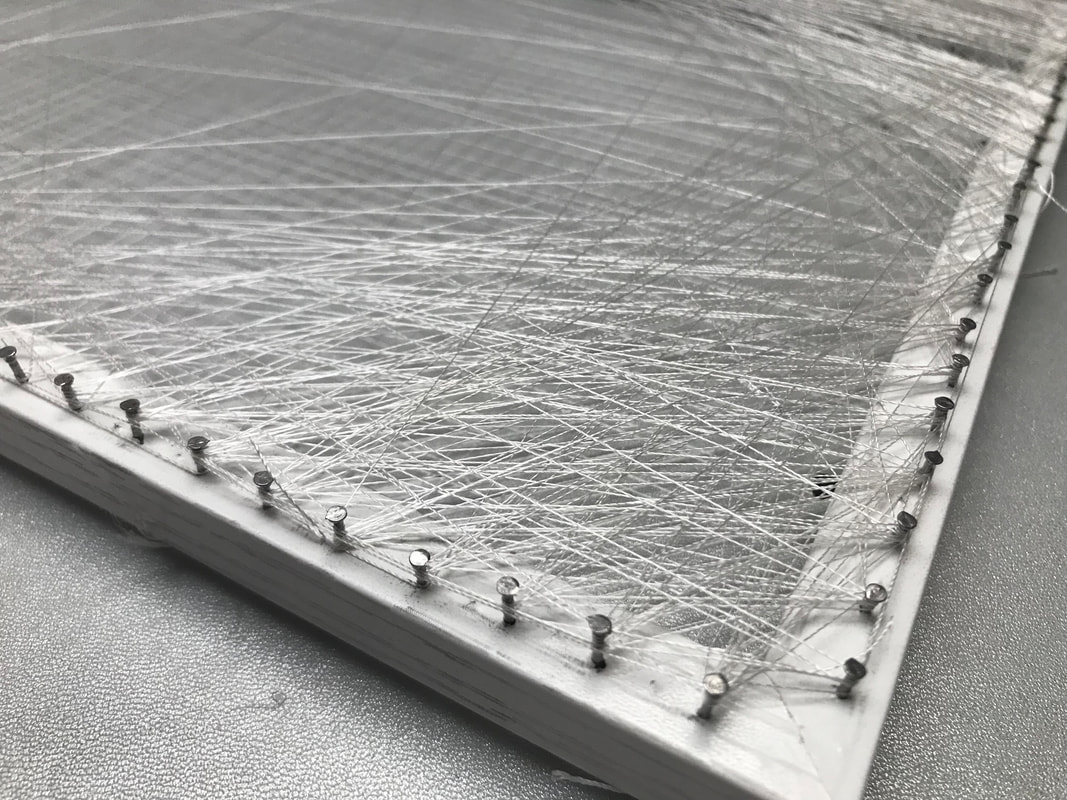
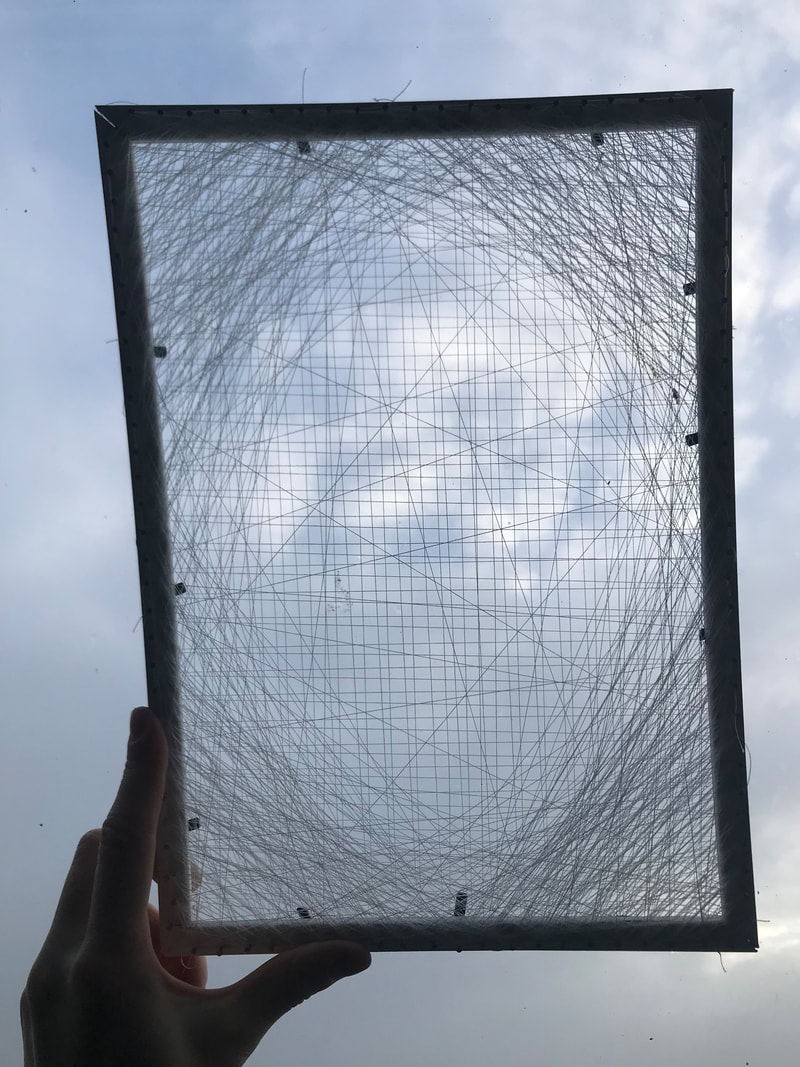
Phase 3- Frame Models
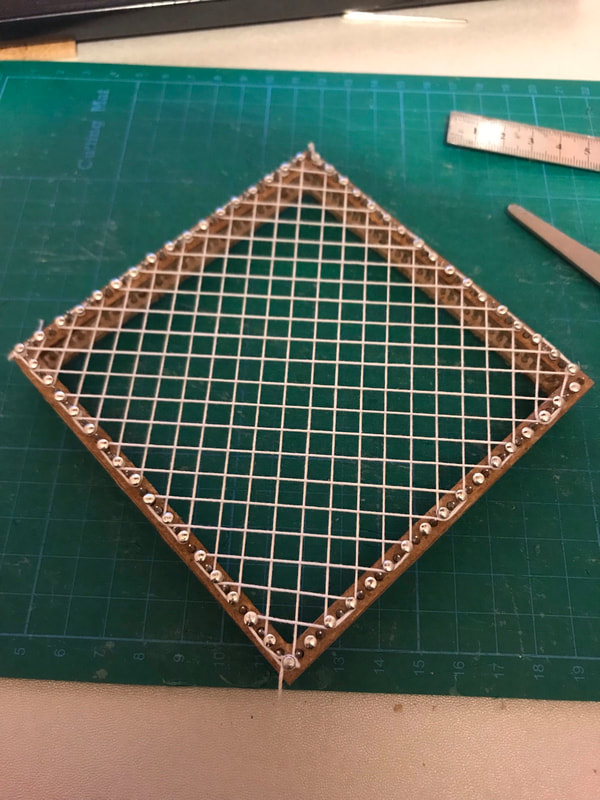
Here (above) the models cut were much thinner and were less dominant of a feature than the first test model done through digital fabrication. This more closely aligned with the models made during the summer and the intent of the project.
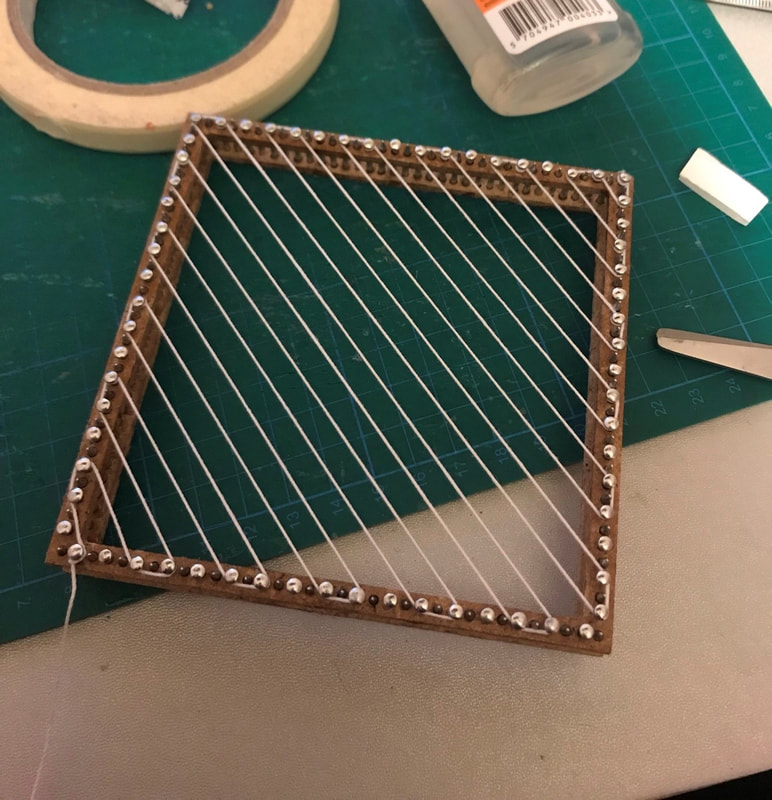
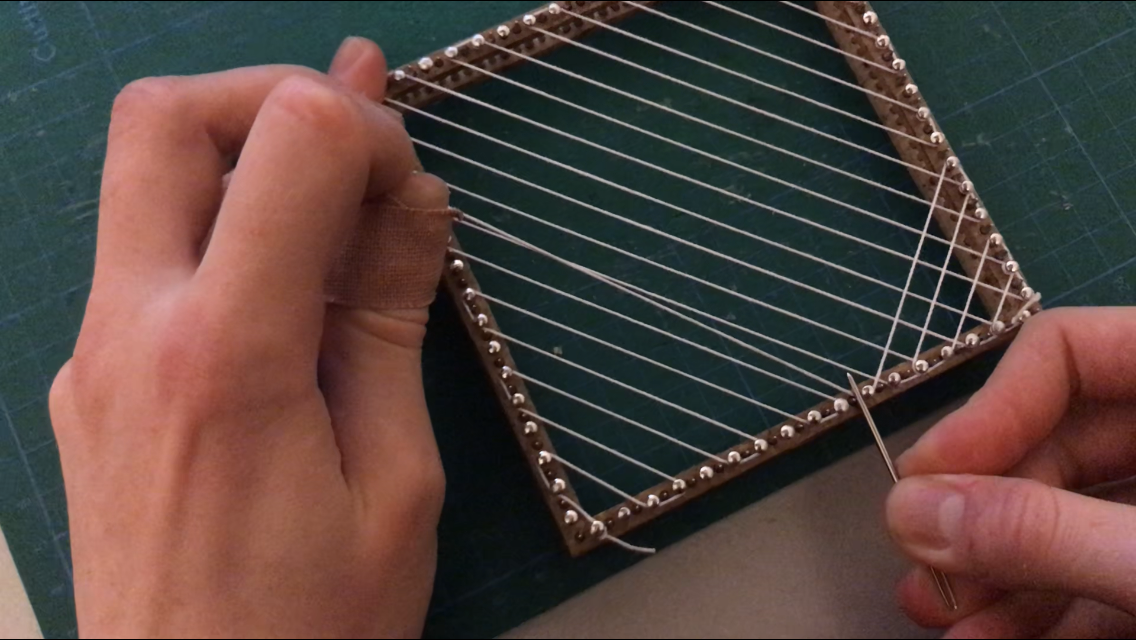
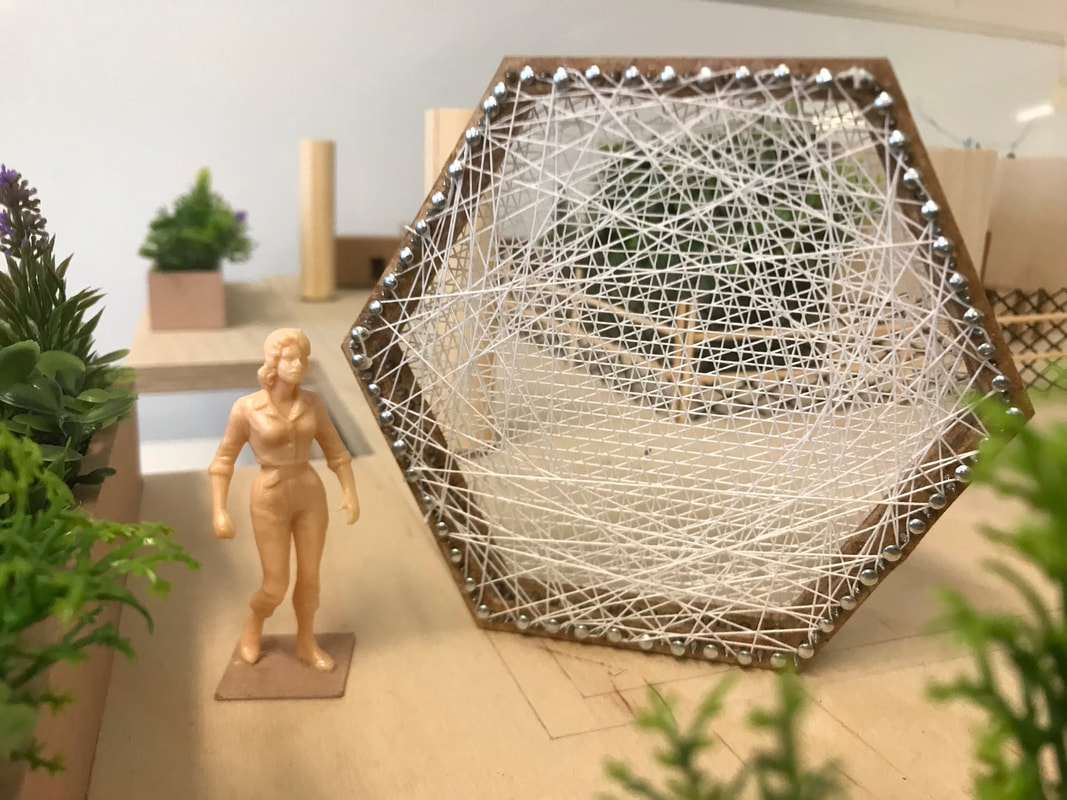
To help with the intricate threading process, a needle was used to loop the thread around the nails (to represent bolts) used in the frame (above center).
To help with the intricate threading process, a needle was used to loop the thread around the nails (to represent bolts) used in the frame (above center).
Phase 4- Testing in Context
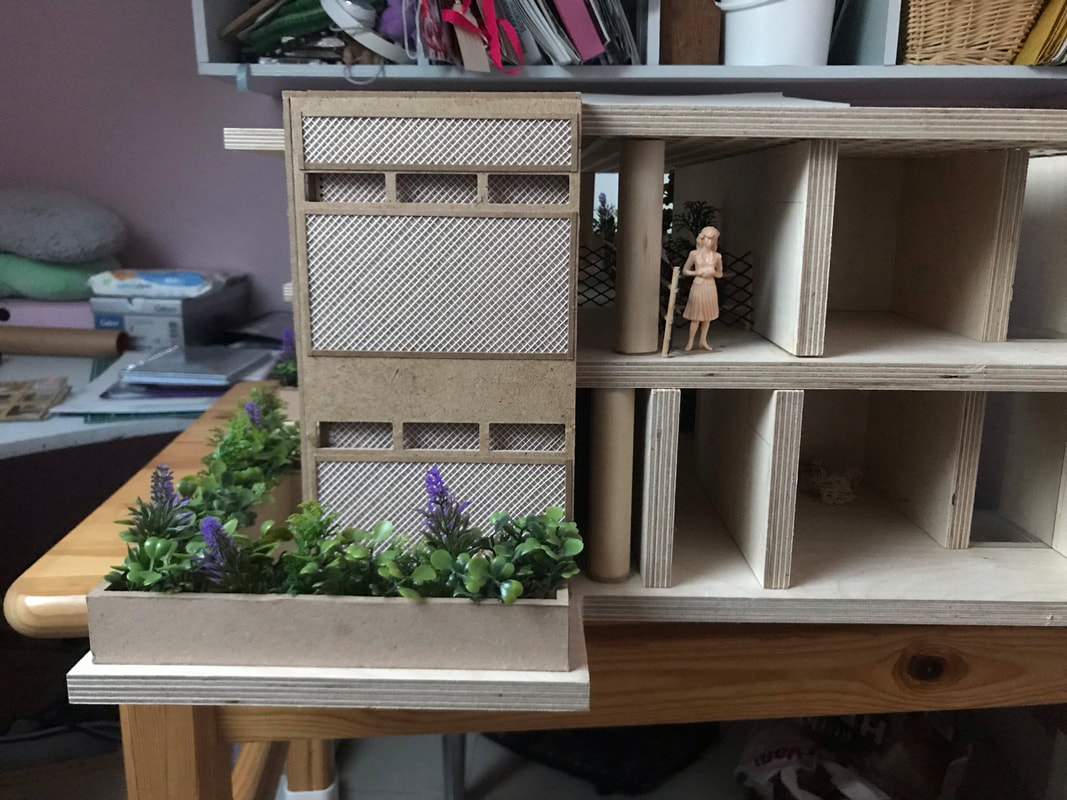
Throughout this process, all the models testing butterfly habitats (above left), bat habits (above center) and more were all tested within the 1:25 scale model of 2 floors of Liberty Hall from the previous semester. This was a crucial component in my own understanding of how I wanted the project to work and how the frames could look like in real life.
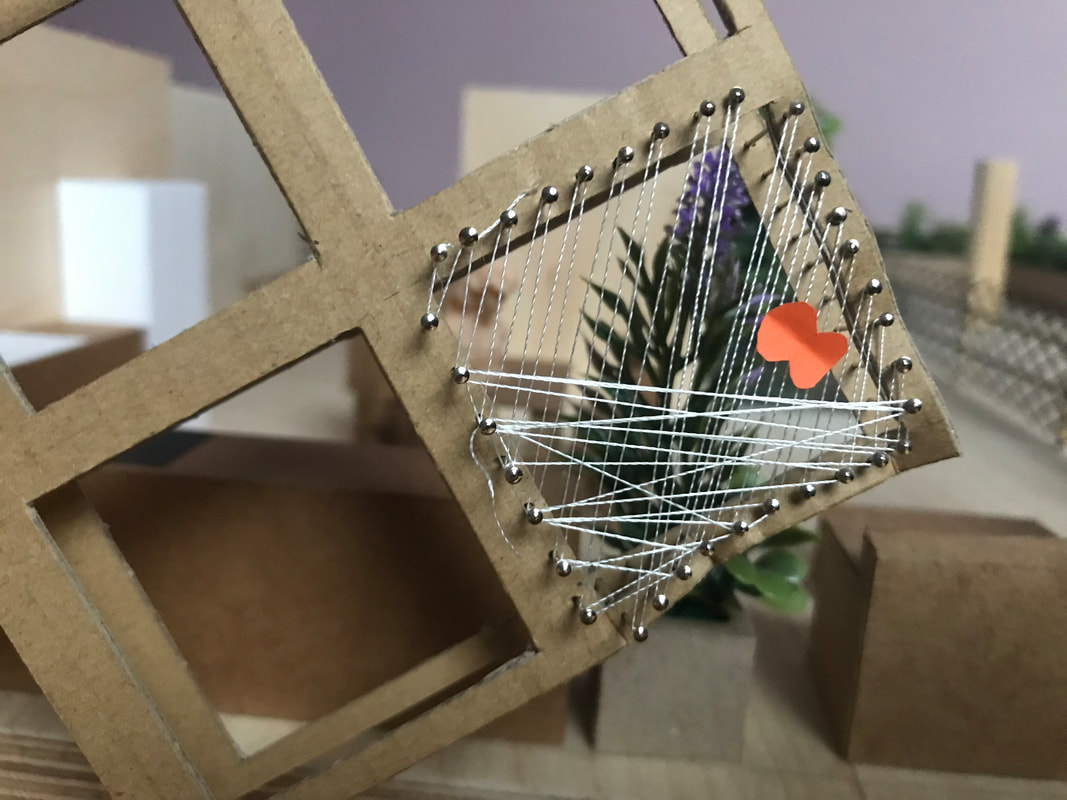
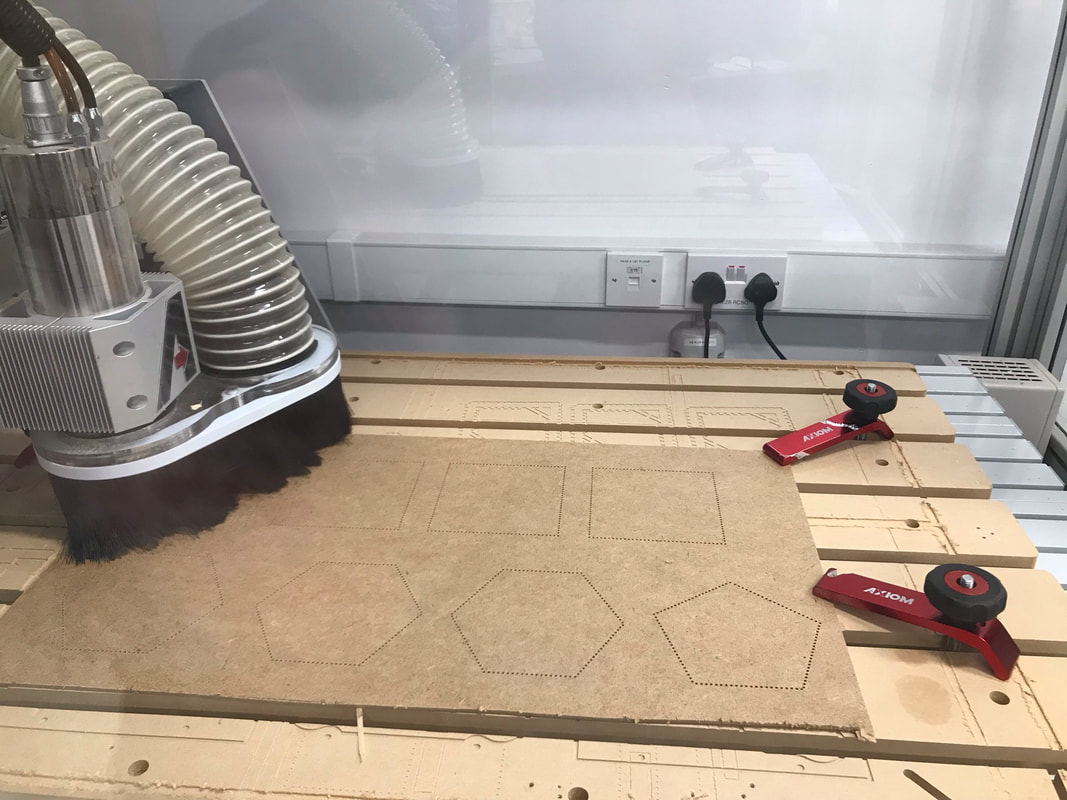
Phase 5- Experimentation with Shape and Structure
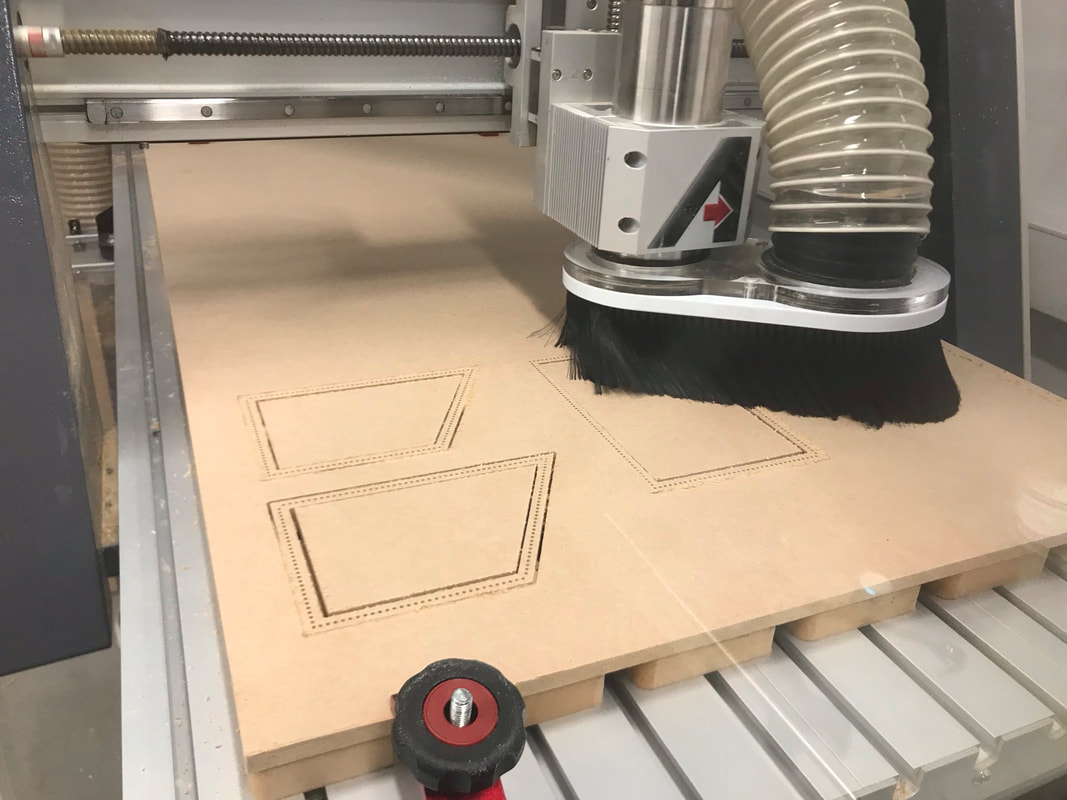
To test the potential of using other shapes for the frames, pentagons and hexagons were printed and woven (above left). However, after working with the pieces it became apparent this strategy would not be as optimal as rectangular and square frames for the drawn design. The standard rectangular shape of a frame could be more widely and flexibly within the floors than less standard shapes.
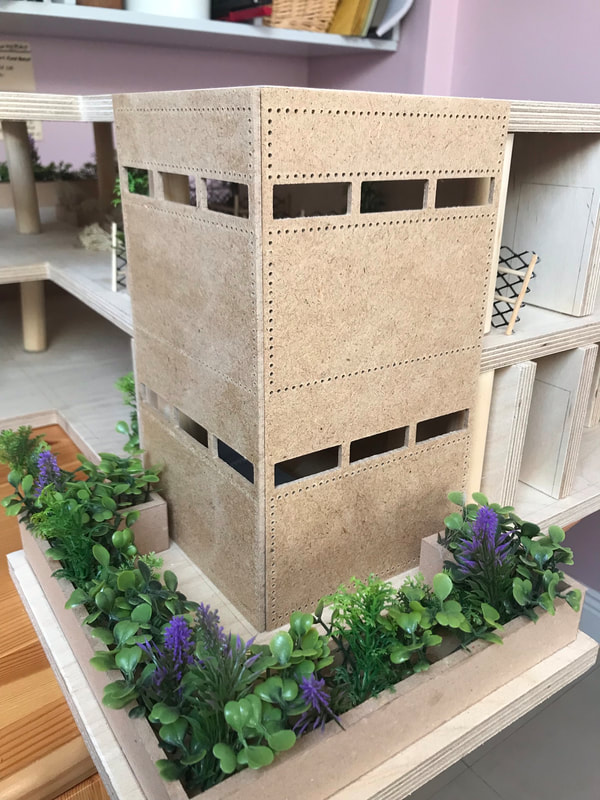
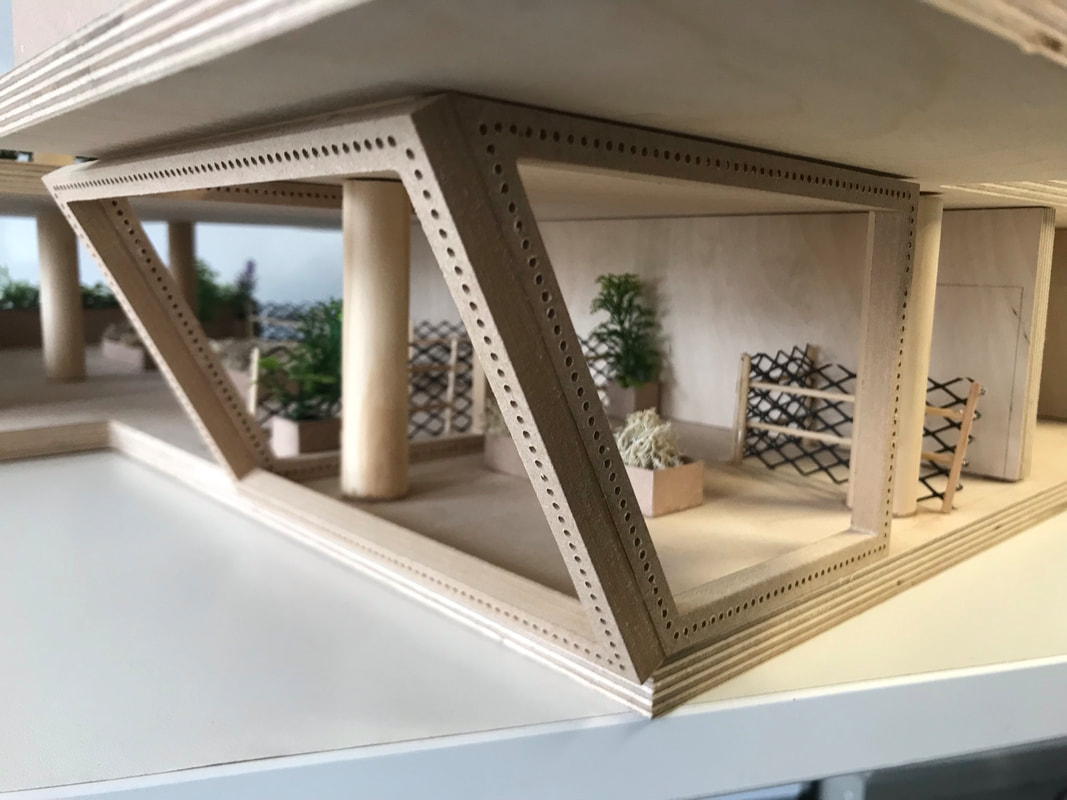
Testing progressed into assessing the viability of the frames as structural components as well as façade panels. This would allow for more freedom in the design process, allowing for larger openings in the façade when required. It would also aid in supporting the balconies that span outside the original square floor plan (above right). 9mm MDF was used to represent the more dominant presence of the now steel structural frames of the facade panels.
Testing progressed into assessing the viability of the frames as structural components as well as façade panels. This would allow for more freedom in the design process, allowing for larger openings in the façade when required. It would also aid in supporting the balconies that span outside the original square floor plan (above right). 9mm MDF was used to represent the more dominant presence of the now steel structural frames of the facade panels.
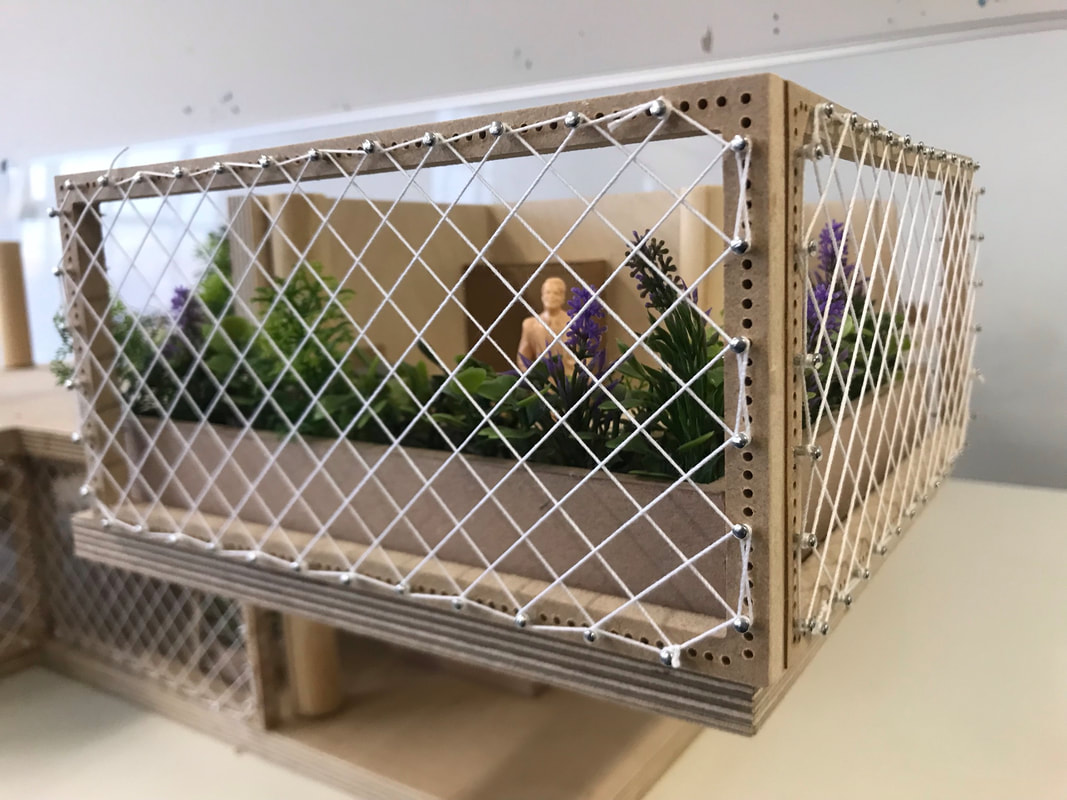
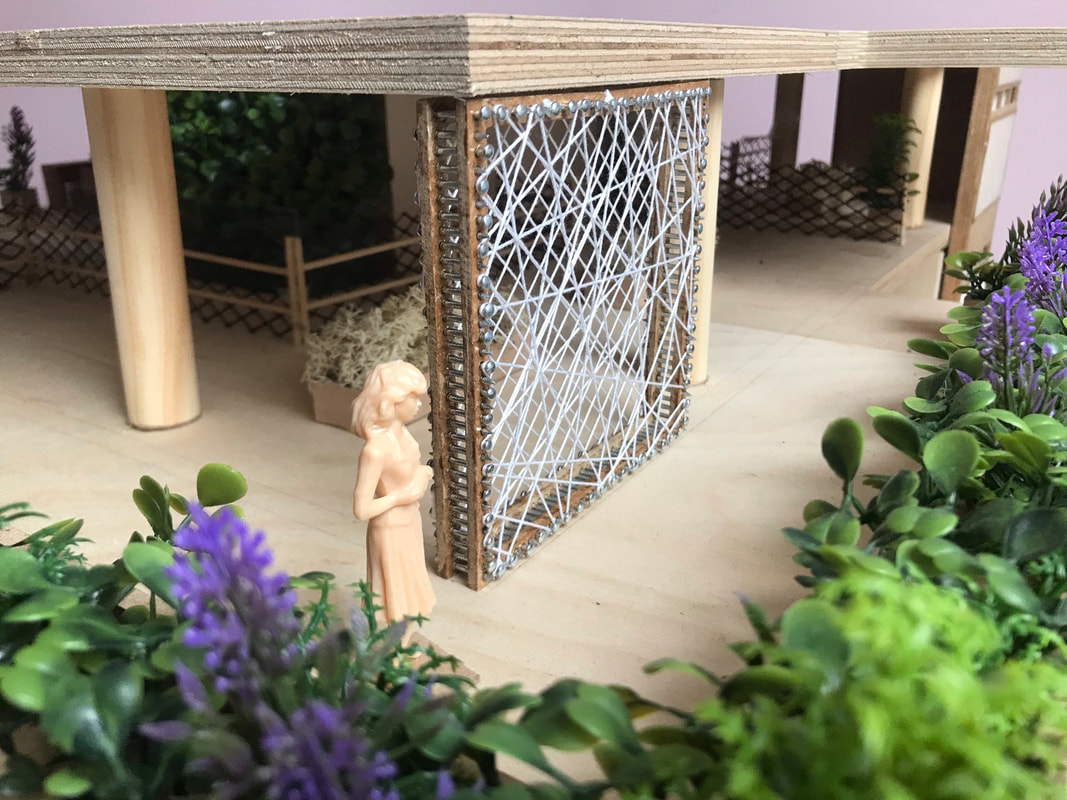
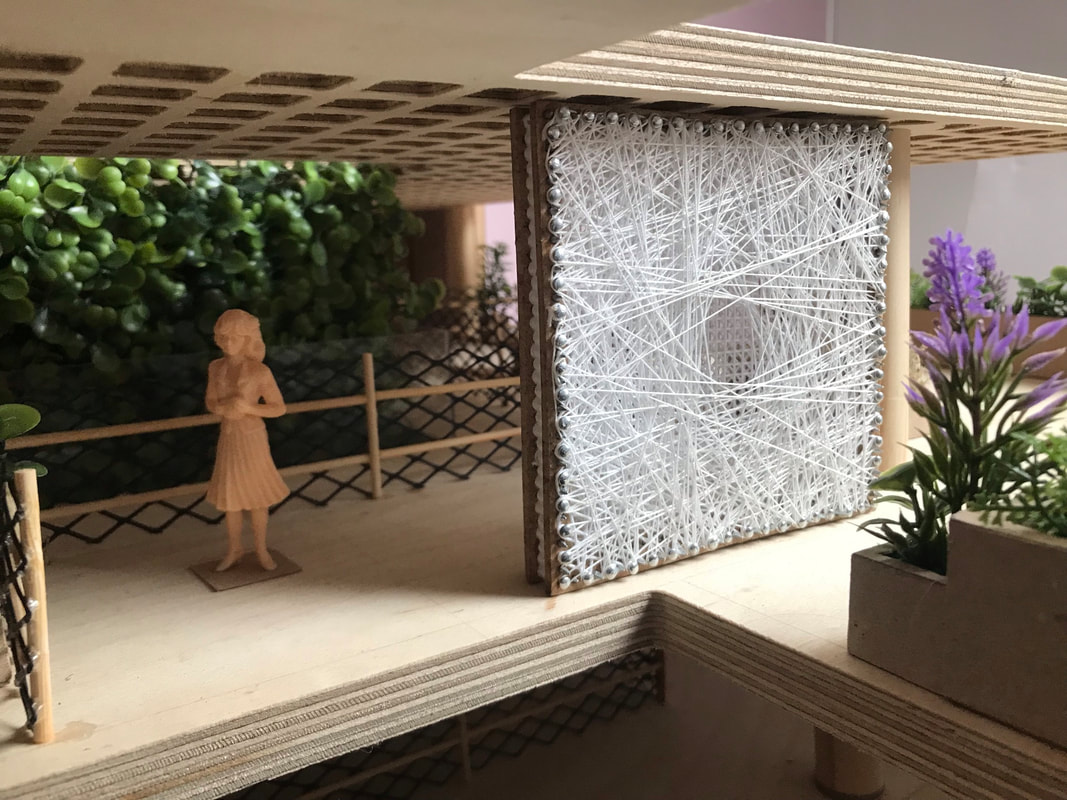
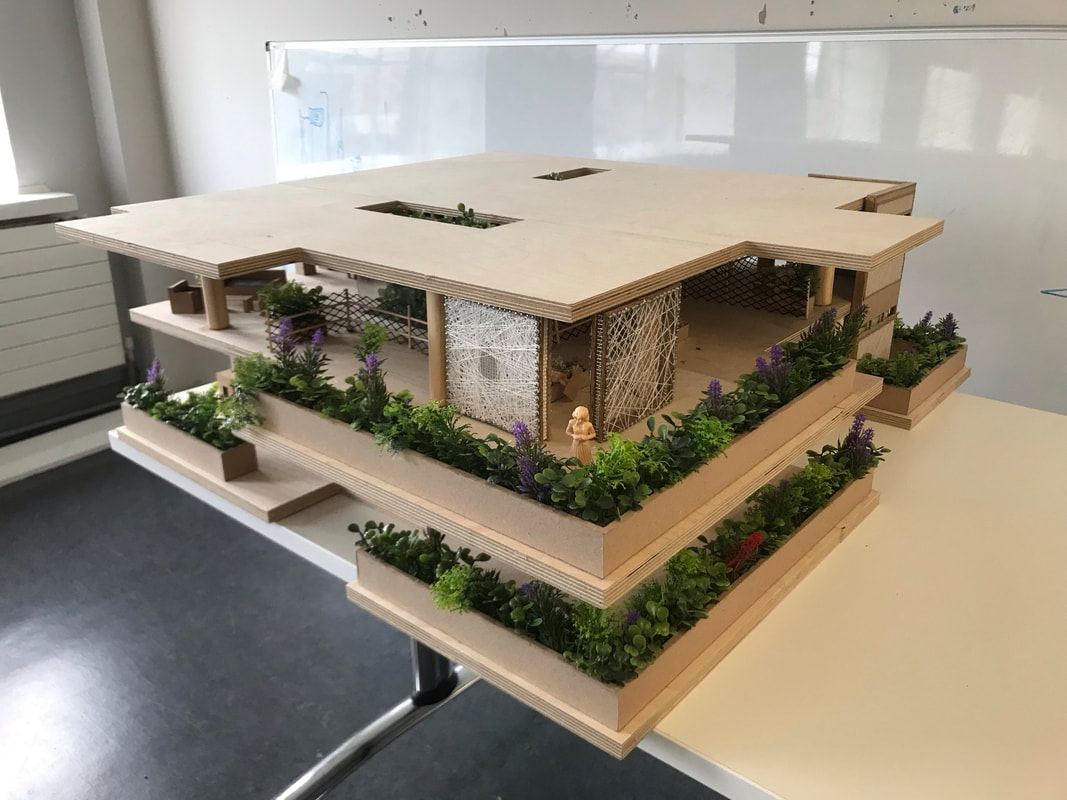
Phase 6- Final Model
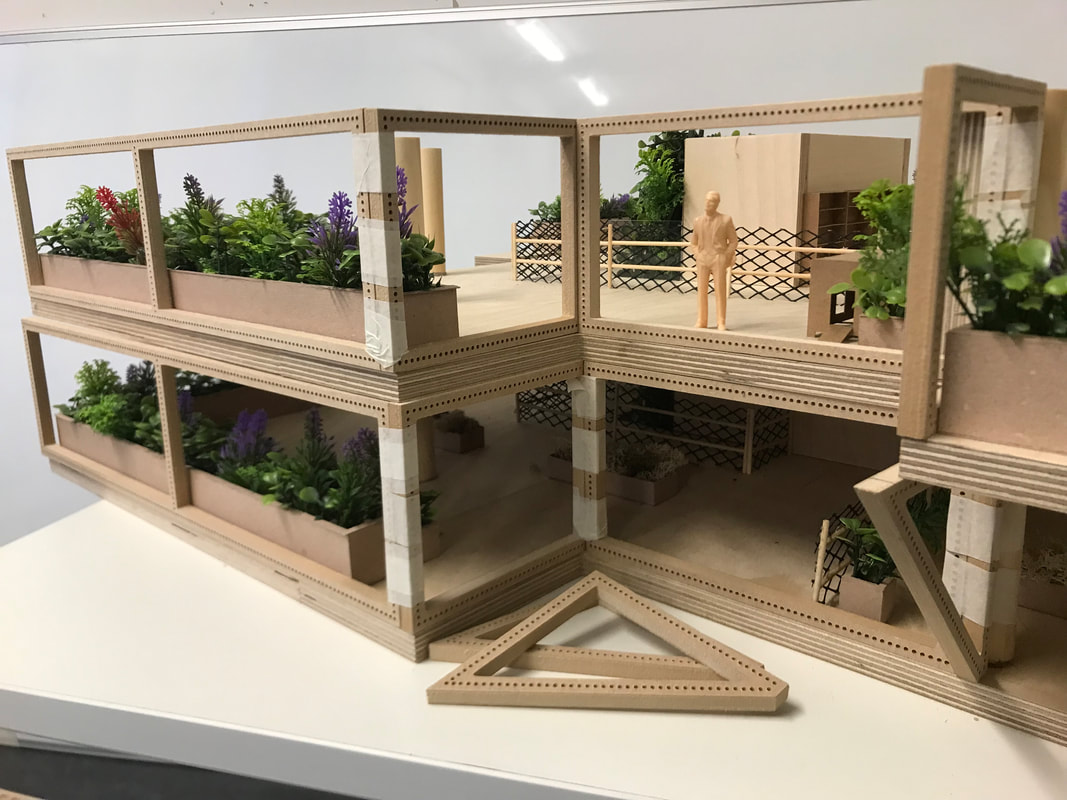
Above and below are images of the final stages of the design process using the physical model. After having spent time drawing all the floors and their different frames, I returned to see how it looked and felt in the context of the model.
A threading typology used for this stage was the 'criss-crossed grid' pattern used for the vegetable/ fruit garden levels. This pattern was designed to keep larger birds from destroying the plants while allowing smaller insects (such as bees and butterflies, who are provided other habitats on surrounding levels of the scheme in Liberty Hall) to access the fruit for pollination purposes.
In the following series of images, some frames are left without threading to show how the frames appear in certain parts of the scheme elsewhere (ex. the birdwatcher’s levels) where they are intentionally left without threading so birds can fly into their habitats within easily.
Ultimately this was a worthwhile, enjoyable part of the design process. I could see the implications of my design and get an understanding of how unique Liberty Hall would look as a space designed equally for both the human and non-human alike.
